Our Products

Eddy Current Testing Instruments
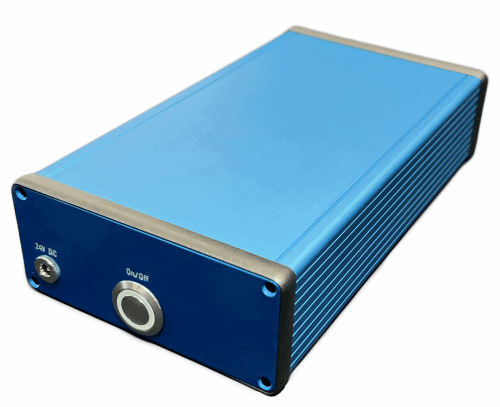
Digital 4-Frequency
Universal Eddy Current Testing Instrument
One single 4-Frequency / 2 Probe Channel Instrument
for all eddy current testing applications
Frequency Range
10 Hz up to 2.5 MHz
Number of Frequencies
4 adjustable frequency channels. Adaption of the transmitter output voltage to the probe, range -40 up to 8 dB adjustable in 0.1 dB increments
Probe Matching
Adjustable preamplifier for optimal matching to the sensitivity of the probe, range 0 up to 78 dB in 6 dB increments with signal level indicator

Eddy Current Probes
Different eddy current probes for surface inspection, tube inspection, rotation inspection and custom manufacturing
A-T-TS - D-T-TS - MD-T-TS Series
This probe type is designed for the detection of
surface cracks in ferromagnetic and nonferromagnetic materials. The sensor tip can be
designed either as
– absolute – Type A-T-TS
– differential – Type D-T-TS
– multi differential – MD-T-TS
probe. Due to different tip shapes the optimum probe
for every inspection requirement and application is
available.
D-B-ID Series
This probe is designed for the internal tube inspection of non-ferromagnetic tubing. The probe
can be operated in differential mode for
detection of local defects as well as in absolute
mode for detection of gradual wall thinning. The
delrine or polyurethane centerings are
adjustable to ensure a safe centering in the
inspected tube and a reduced wobble signal.
D-T-TSR.C Series
This probe is designed for inspection of
boreholes and tube end sections and use in the
probe rotor SRT-1500. The probe is operated in
differential mode for detection of local defects.
Tank Testing Systems
SLOFEC® tank floor scanner
SLOFEC® hand scanner for testing of overlap welds
SLOFEC® tank wall scanner
SLOFEC® pipe scanner
CRIS® weld scanner for surface crack detection
SLOFEC® System
- high sensitive and safe detection of local wall loss
- separation between surface and subsurface defects
- separation between defect and noise signals
- applicable for wall thicknesses up to 25 mm (depending on the scanner type)
- testing through thick non-magnetic coating up to 12 mm (depending on the scanner type)
- testing through conductive but not magnetic coatings and claddings. Thickness depending on the cladding material
- applicable also to cast and ductile iron materials
- minimal surface preparation prior to the inspection
- easy to read and extensive 2D-colour documentation


Heat Exchanger Tube Testing Equipment
For the inspection of heat exchanger tubes different eddy current techniques can be applied. The choice of the particular eddy current technique and sensor type depends on the tube material, type and volume of the defects to be detected as well as on possible perturbations by e.g. changes of the tube dimensions in the tube expansion. The following scheme gives an overview about applicable eddy current techniques.
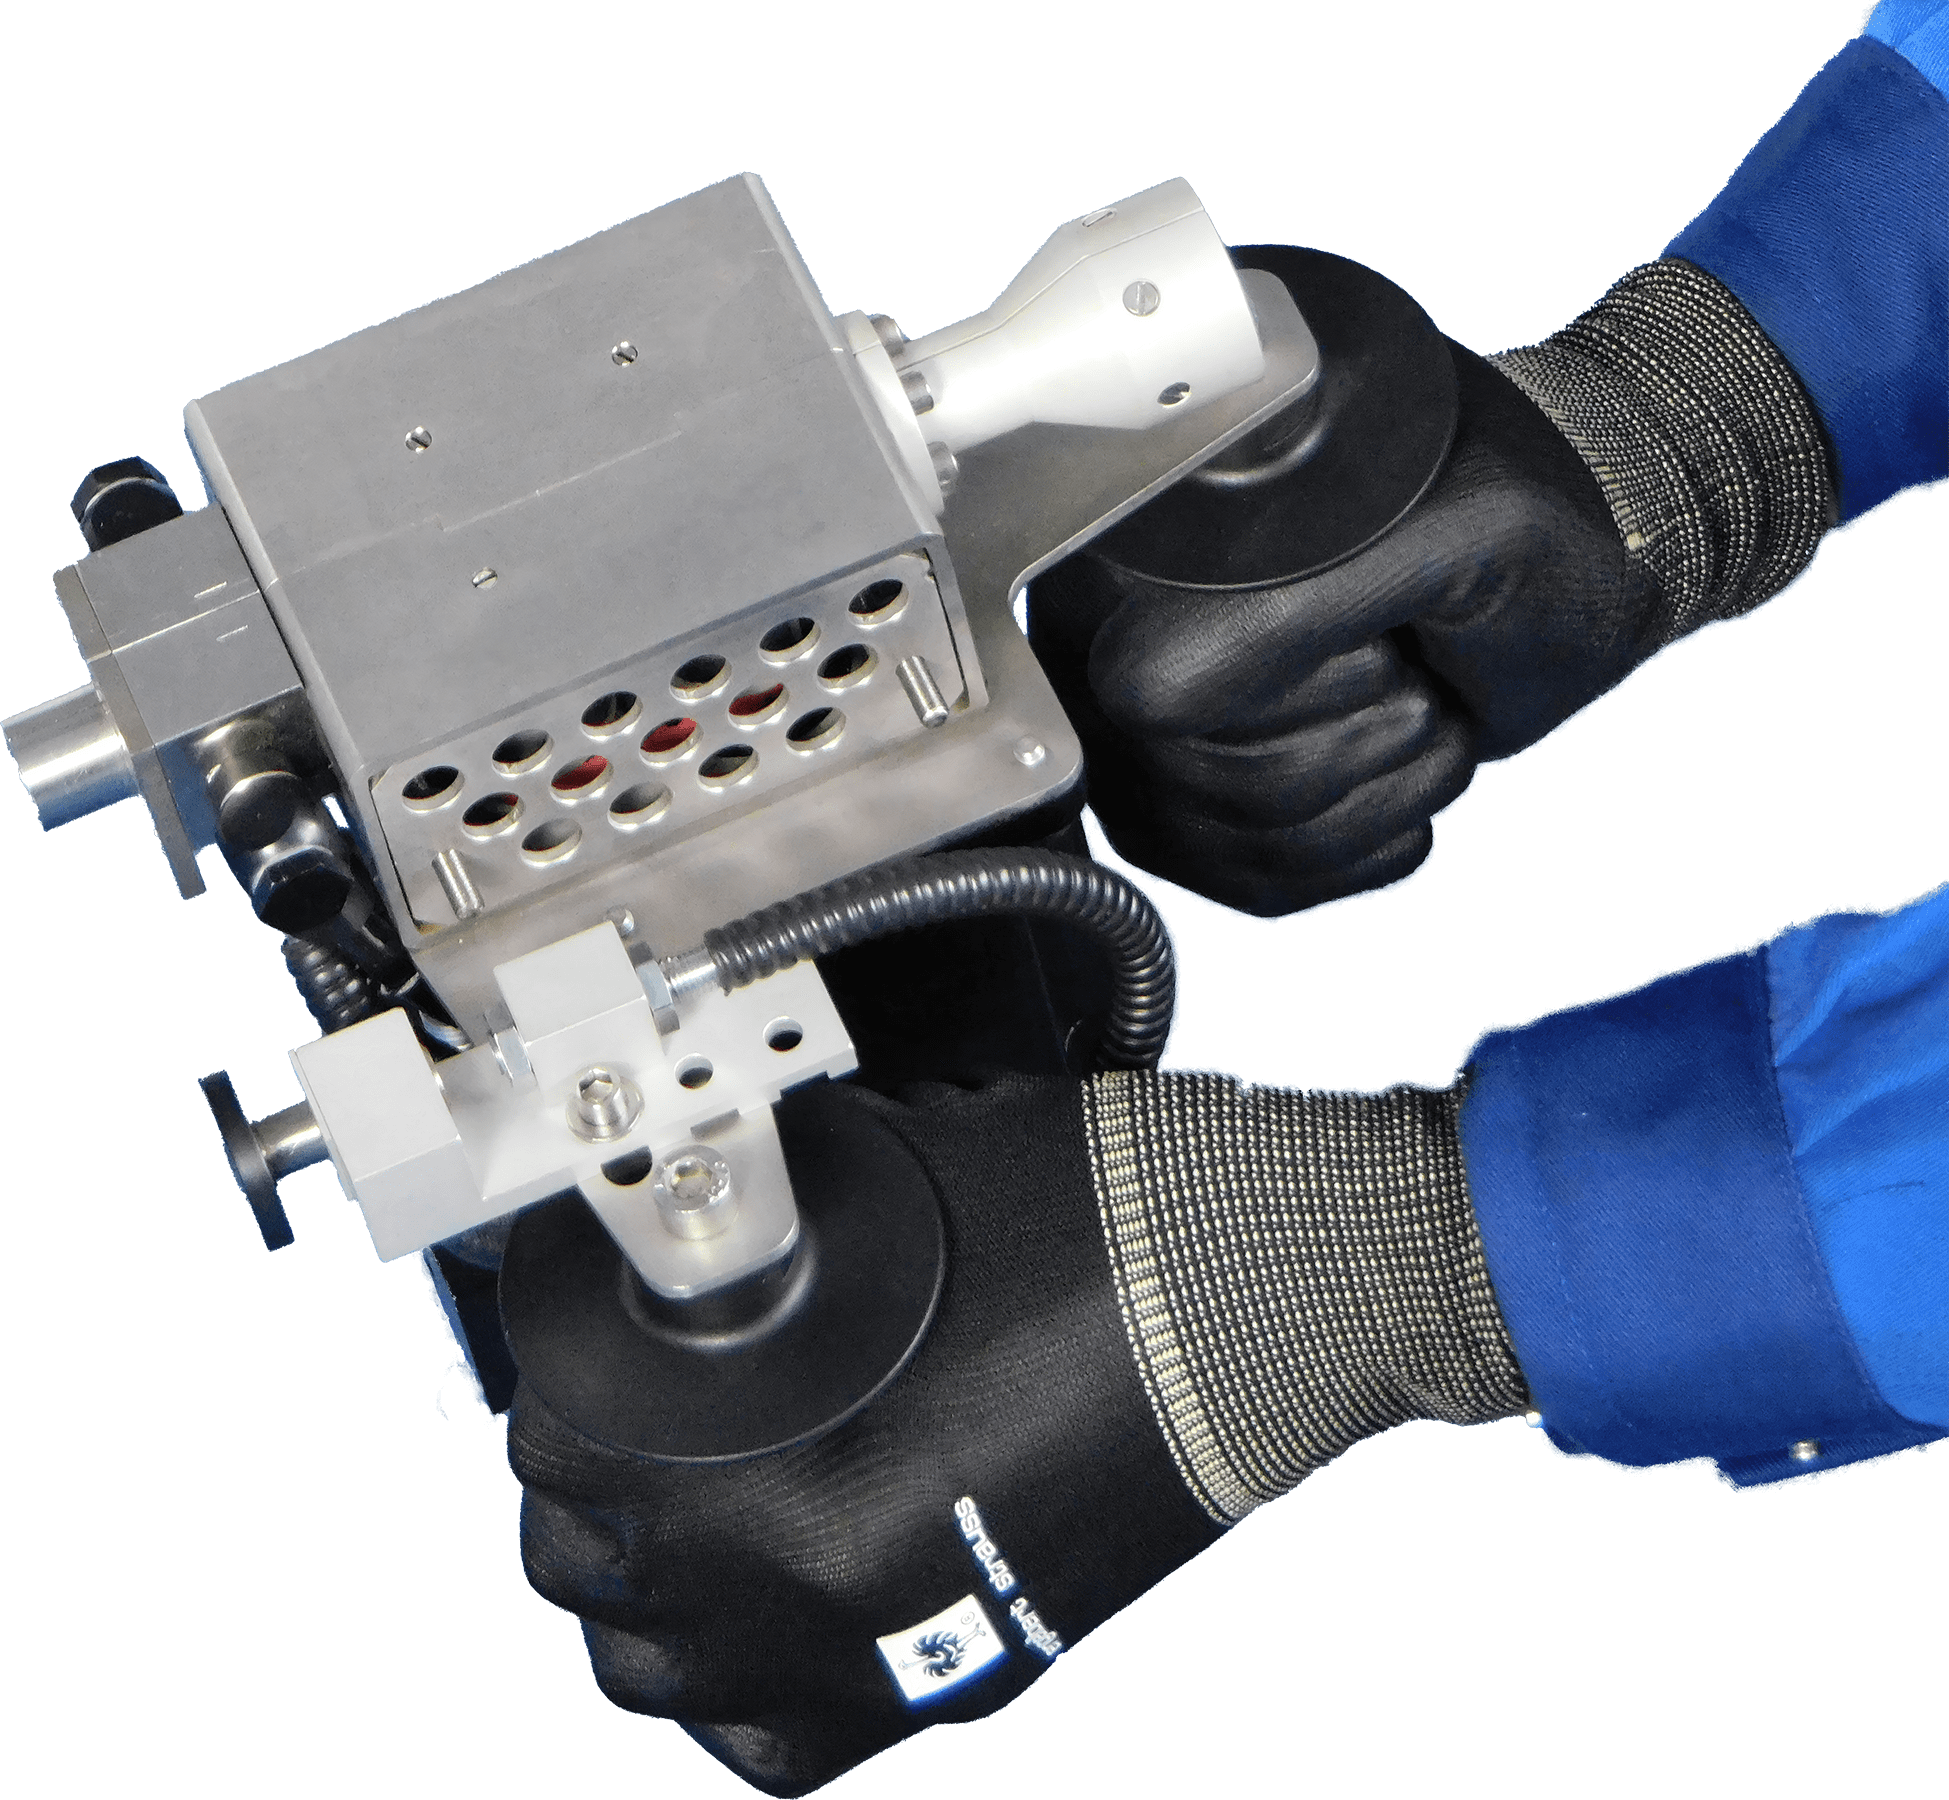
Automatic Hand-Held Probe Pusher Puller
For inspection of big numbers of tubes or for inspection requiring an accurate evaluation of defect positions the application of probe pusher puller has an vital advantage.
The hand-held probe pusher puller system developed by TMT Test Maschinen Technik GmbH allows a fast, convenient and accurate probe handling. All drive functions are controlled from the eddyMax system. Optionally the probe insertion can be supported by compressed air allowing an operation even under hard conditions.
The TubeMax® Software
The TubeMax software is developed for signal data acquisition and online or offline signal data analysis of differential and absolute signals in eddy current inservice tube inspection applications. The main TubeMax® software features are:
- user configuration of inspection frequencies and number of differential, absolute and mixer channels
- user configuration of the screen display for impedance and chart windows
- input, edit, storage, read and delete of phase versus defect depth or amplitude versus defect depth calibration curves for inservice tube inspection according to ASME-Code or user selected requirements
- determination of master evaluation and confirmation channels
- automatic phase and sensitivity adjustment of reference signals
- automatic online (direct after data acquisition) or offline signal evaluation of up to 1000
indications for all selected frequency channels - direct automatic storage of inspection result with code for internal/external defect, defect
position and signal amplitude to the selected tube coordinate (in combination with WinDevos software)

Unpiggable Pipeline In-Line Scanner Systems
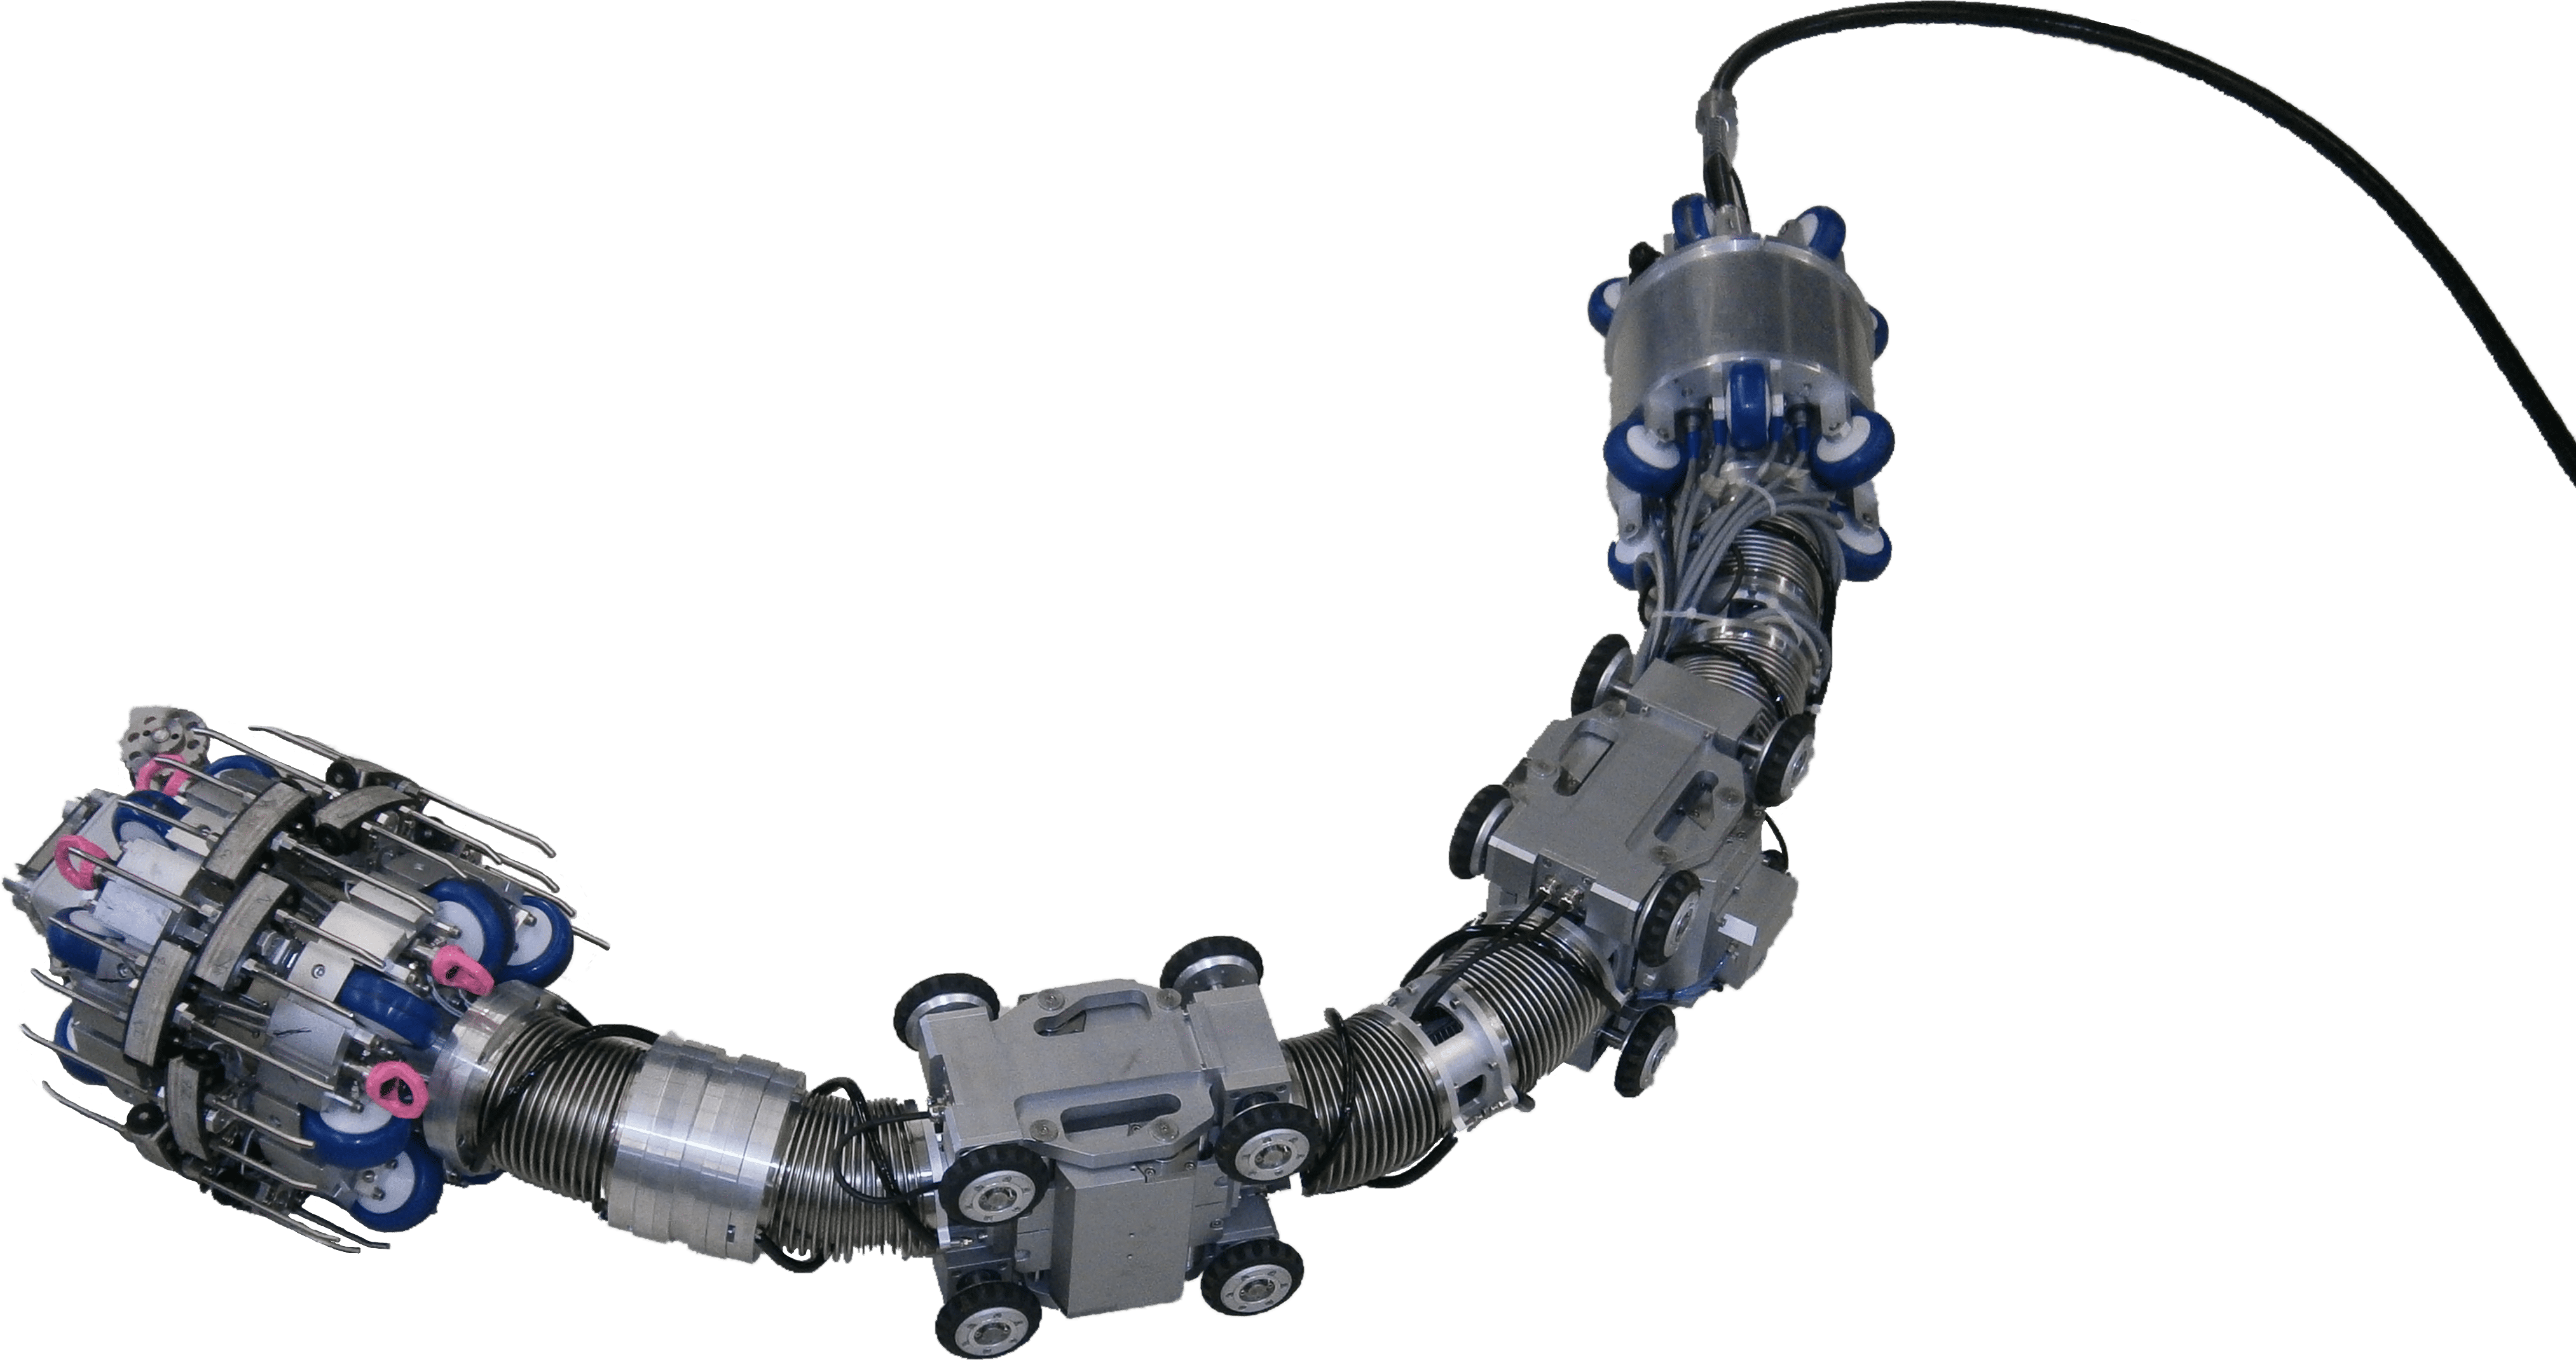
PLM & PLS Scanner Systems
Unpiggable Pipline In-Line Scanner Systems with SLOFEC®
Unpiggable Pipeline In-Line Scanner Systems (PILS) are highly specialized technologies used in the oil and gas industry to inspect pipelines, particularly those that are difficult or impossible to access using conventional methods. The term “unpiggable” refers to pipelines that cannot be cleaned or inspected using traditional “pigs,” which are pipeline inspection devices, due to factors such as their size, design, branching, or other constraints.
PILS systems have been developed to address this challenge and enable the inspection of pipelines that were previously considered hard to access. They utilize advanced technologies such as ultrasound, magnetic particle testing, eddy current testing, and other methods to capture the condition of the pipeline and detect potential defects. These systems can be installed in existing pipelines without requiring extensive dismantling or modification of the pipeline.
Some of the benefits of Unpiggable PILS systems include:
- Enhanced Inspection Capabilities: PILS systems allow for detailed inspection of pipelines that would be inaccessible using conventional methods, leading to improved monitoring and maintenance.
- Extension of Pipeline Lifespan: Regular inspection and identification of defects through PILS systems can lead to timely interventions, extending the lifespan of the pipeline and avoiding costly repairs.
- Reduction of Environmental and Safety Risks: Precise monitoring of pipelines helps minimize leaks and other potential hazards, reducing environmental and safety risks.
- Cost Savings: The use of PILS systems can avoid expensive and labor-intensive methods like pipeline dismantling for inspection purposes.
It’s important to note that the development and implementation of Unpiggable PILS systems are technically challenging and require thorough planning and expertise. However, technological advancements have significantly enhanced the industry’s ability to inspect and maintain pipelines, while simultaneously elevating environmental and safety standards.

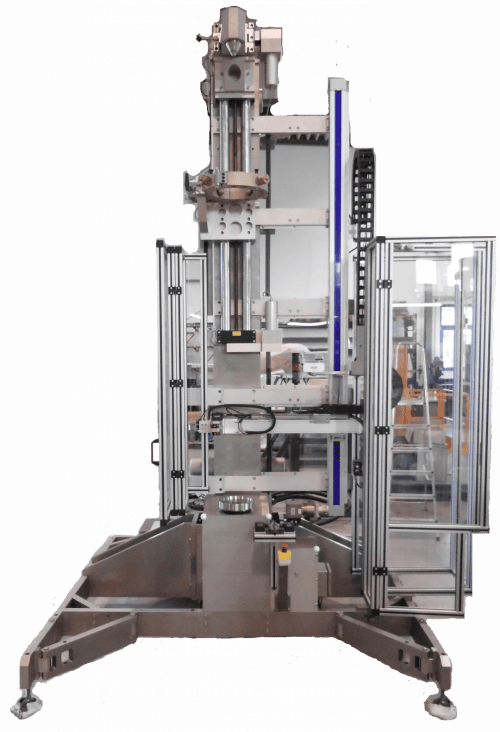
Custom Scanners made by TMT
Scanner systems made to your requirements
One of our special strengths is the construction of special machines.
Due to new technologies, laws or increased requirements, it is often necessary to design new test methods and test equipment.
For special applications, which may even be unique in the world, known scanner systems and methods reach their limits.
At TMT we do everything from design to final assembly in-house.
Because of this flexibility and our many years of experience, we have the ability to design and build new and unique scanner systems.
